Ever since I was a kid, I dreamed of owning my own home, with enough space for a garden in the backyard and solar panels on the roof so I could generate my own electricity.
Not long after my fifty-first birthday, I purchased an American Foursquare built in the 1930s, sitting on three-quarters of an acre.
At first glance, the old place didn’t look like much. It was big, yes (the traditional “eight-room farmhouse” that John Cougar sings about in the song “Small Town”), but the former owners hadn’t been kind to it, and it had suffered decades of benign neglect.
Given that, it took a couple of years of backbreaking work to start to bring the old place back to its former glory, which is to say that we couldn’t exactly jump into a project like adding solar panels on day one.
In time, though, we got the place whipped into better shape, and as soon as we were able, I started shopping around for solar panel installers to see what my options were. This article was written to simplify and demystify the process for anyone who comes along later and wants to take the same adventure that I’m on.
The Initial Question
The first question you need to ask yourself is: is solar right for me?
It might not be.
If you’ve got a lot of trees around your house that shade your roof, or if you live in a part of the country that doesn’t get much sun, solar might not be a very cost-effective option for you.
There are sites on the web that allow you to type in your address and assess your solar potential.
I started by going to the Department of Energy’s website and picking one of the incubator companies listed here to get the solar potential for my house. Here is the DOE’s web address: Office of ENERGY EFFICIENCY & RENEWABLE ENERGY
I used “Sun Number” and discovered that my home’s solar potential was 77, which is a rock-solid score!
The second thing you’ll want to do in advance of a project like this is to track your energy usage and start making some changes.
Most power companies already track your usage over time, so you can just download that data from your power company. In my case, I went through the house and replaced all my incandescent bulbs with LEDs, and as I replaced appliances, I made sure to get high-efficiency Energy Star appliances to lower my monthly power needs.
Assuming your house has good solar potential (anything 65 or better is the rule of thumb I use), and once you understand how much power you’re using and have taken steps to lower that number month over month, the next logical step is to start looking around for companies that provide installation services.
There are LOTS of options on this front, so you’ll have no shortage of choices. In fact, some local power companies have also gotten into the business of panel installation. That is the case where I live, but they only install panels for people who use them for power.
The company I get power from does not offer a panel installation service, so I started evaluating private companies.
Ultimately, I went with Titan Solar. They’re not the cheapest option, but they use incredibly high-quality panels, offer a robust warranty, and do a lot of hand-holding. They also had a habit of being very good at resolving any and all issues on the Better Business Bureau’s site. Every time someone reported an issue to the BBB, Titan Solar moved quickly to address it. I liked that. To me, that said good things about the company.
I also didn’t want to get mired in the weeds of the process, so I was happy with all the hand-holding. Titan did everything, making the journey to solar panels pretty much hands-free. The exact process will vary, depending on what company you decide to go with, but the overall process should be broadly similar.
Here’s what you can expect:
Step 1 – The Site Assessment
Titan Solar sent a structural engineer to the house to inspect the roof and crawl around in the attic to make sure that our existing roof would support the added weight of solar panels (factoring in the region’s wintertime snow load).
With Titan, it was a free service, and I found it to be handy because although I’d had the house inspected before purchasing it, this put a second set of eyes on the roof in particular. Had any problems been found, I would have gotten that information for free, and the inspector would have made recommendations about what needed to be fixed/changed/shored up to make the roof ready for the solar panels.
There weren’t any issues, but if there had been, Titan would have scheduled the repairs and managed the work for me. Again, very handy and I found the hand-holding to have value. It was just one less thing to worry about.
Step 2 – A Panel Plan
Once your chosen solar panel installer has confirmed that adding panels to your roof won’t damage your home, they’ll proceed with designing a panel plan.
An important part of this is an understanding of how much capacity you’ll need and how big a system you want.
In my case, I’ve got some power-hungry long-term plans, so I wanted a fairly big system to get the ball rolling.
Titan designed an 8.8Kw system for me, which is more than enough for most American households.
I got an interactive PDF a few days after the roof inspection was completed, which showed me how many panels the system would be made up of and where, specifically, they would be located.
If I had wanted to, I could have proposed changes to this plan (the interactive portion allowed me to add, delete, or move panels around), but I figured they knew what they were doing and I asked my contact how the plan was developed and was pleased to hear that they had already taken my home’s solar potential and roof orientation into account, so I accepted their initial plan and that was that.
When the plan had been finalized and approved, we moved on to the next step.
Step 3 – Arranging Financing
I didn’t have fifty thousand dollars just sitting around, so in order to get the panels installed, I needed to finance it. The total cost came in at just under $50k, and they had a standing arrangement with a finance company that offered incredibly attractive terms.
After a short phone interview and giving them a bit of basic information, I was able to get a 25-year loan for the entire amount at 2.5% interest—an astonishingly great deal, made even better by the fact that there’s no early repayment penalty. If I want to, I can pay the loan off ahead of schedule, although, given that interest rate, I’m not in a big rush to do that!
Here’s the fun thing about solar panels. They’re cheaper than you might think for three reasons:
Taken together, those three things make installing a home solar power system an incredible value.
Step 4 – Permitting
This will vary depending on where you live. In my case, we needed to get a permit from the city and the power company in order to actually install the panels. The power company permit was necessary because the ultimate goal was, of course, to tie the new power system to the existing power grid, and they wanted to make sure it was done right and wouldn’t cause any issues.
Again, this all happened automatically. Titan did it and let me know when they had the permits in hand. I literally didn’t have to lift a finger here.
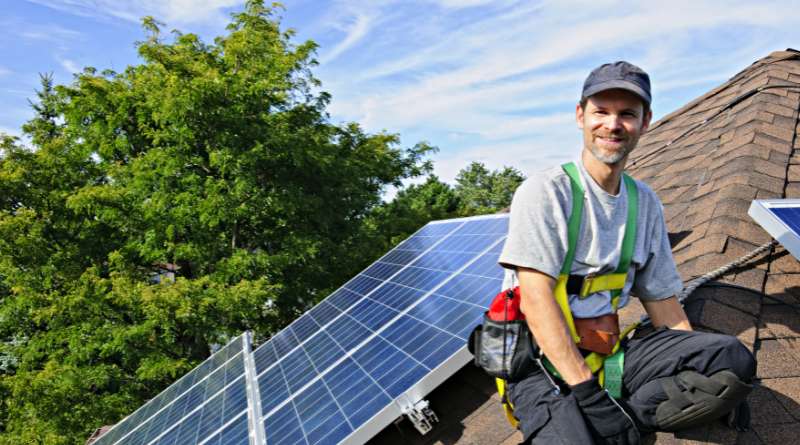
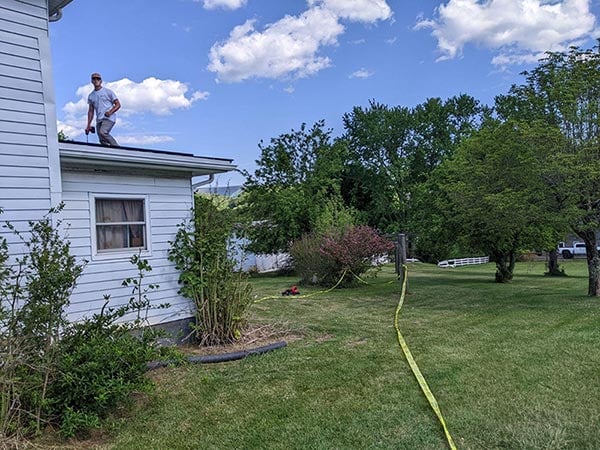
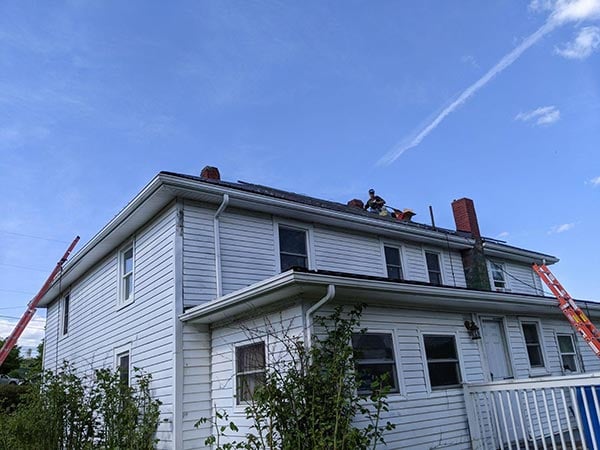
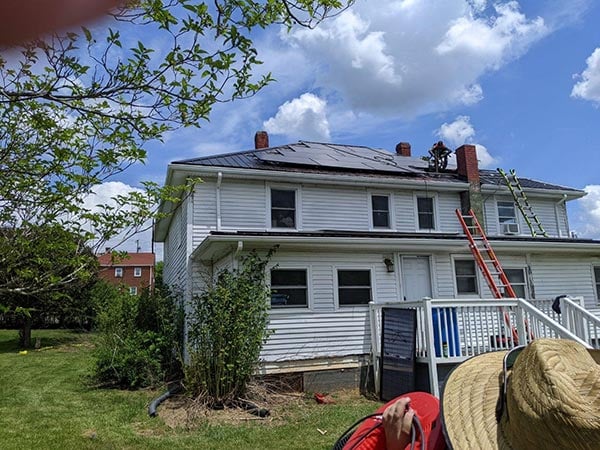
Step 5 – The Installation Itself
Once all the permits were in hand, the installation itself was scheduled. There was about a two-week delay between permitting and the work crew arriving on the scene, and that was pretty good. I had been told that due to a surge in demand, some people were waiting a couple of months, so I felt pretty lucky to get a team there so quickly.
The work was scheduled for three days, but the guys who came to my house worked from sunrise to sunset and got it done in two, except for the final checks, which took a couple of hours on day three.
The installation itself was basically divided into four phases:
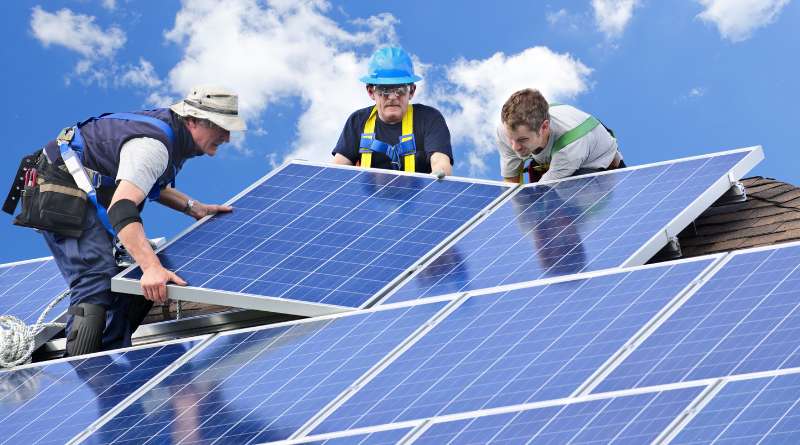
Here are some pictures taken during the installation:
Step 6 – Final Inspections
Here’s something I didn’t know when I started this process. Once the system is installed, you can’t just turn it on and start generating power. You need a PTO certificate, which stands for Permission to Operate.
In my case, the city and the local power company sent inspectors to check the work. This was coordinated by Titan Solar, and the leader of the installation team was there to greet the installers and walk them through the work that was done.
They chatted a bit, with the inspectors asking a few questions and, on receiving satisfactory answers, signed off on the work. The guy from the power company also took the step of replacing my old meter with a new one, which is common for solar installations because most of the old meters don’t run in reverse!
There was about a two-week delay between the system installation and final inspections, and after that, I was given permission to activate the system, which I did while the last inspector and the installation guy were still there.
This part was actually a little anticlimactic. There was no hum, flashing lights, or any outward indication that anything was different, except that the power meter readout that showed the amount of energy being drawn from the grid immediately dropped.
And that was that. I was generating energy from the sun, but of course, that’s not the end of the story. There’s more to talk about!
Tracking Power Generation
Titan Solar uses an app-based system to track your power generation. The app isn’t great, but it does provide useful information, allowing you to see your daily, monthly, and lifetime power output. All you have to do is download the app, install it on your phone, and pair it to the system in your house.
In my case, that meant going up to the meter and scanning the barcode located on it, which synced the app to that specific meter, and that was that. I could check the system’s output levels on my phone with about a 15-minute delay, so it was not quite real-time, but pretty close!
Setting Up A Brokerage Account
This is the very last step in the process, and it can’t really be done until you’ve generated at least 1MWh of power and earned your first SCREC. There are a number of different brokerage companies in business, but Titan has a standing arrangement with one called the Carbon Solutions Group.
The way it’s supposed to work is that Titan forwards them my information, they set up the account, and we’re off and running.
I waited two months, and when that didn’t happen, I reached out to the Carbon Solutions Group myself. They apologized that I had somehow fallen through the cracks, got my information from Titan, set up the account, and sent me a prospectus, which laid out various selling options.
I went with the option that lets me save up my SRECS and sell them when I want to, but you can, for example, sell all of your SRECs you’re estimated to generate over the system’s life. Granted, if you do this, you don’t get nearly as much per SREC, but you’re getting all the money right now, and if that’s important to you, it’s a good option.
Remember, as this piece is being written, SRECs are selling for about $40 and capped at $75 max. My system is generating about 1 SREC per month now (high summer), but that will almost certainly fall off during autumn and winter, so we can expect right at 8 SRECs for the year.
At current prices, I’m looking at $320 per year—less the 1% brokerage fee. It’s definitely not a ton of money, but it’s something, and it’s only one part of the savings you can expect to see when you buy a solar power generation system.
Let’s Talk About Net Metering
The last topic you should be aware of is Net Metering. At this point, most states have net metering laws, but they vary widely in how they work.
I live in Virginia, and that’s lucky for me because Virginia has one of the best Net Metering setups in the country.
This mostly depends on how the law instructs your local power company to treat the energy you generate.
In some cases, if you generate more energy than you use on a given day, you automatically sell your extra power to the power company. Naturally, they only pay you a fraction of what the power is worth, and of course, if you have a month when you don’t generate enough power to cover your usage, they charge you a regular price.
In Virginia, though, they just let you bank the extra power in the months when you generate a surplus and draw down your banked power in the months you generate less. That’s superb because you’re not getting shafted by having to sell your excess at pennies on the dollar. You get the full value of it when you draw down your banked power later on. MUCH better!
In both cases, if you have a net balance of power generated at the end of the year, the power company will write you a check for the net contribution to the grid. This isn’t going to be a ton of money because they’re going to pay you the discounted rate for it (since they’re reselling it to their other customers), but…it’s something.
Final Thoughts
From start to finish, it took us about four months to go from talking about adding solar panels to the roof to generating power and selling our first SREC. That was about the timeframe I had estimated, and although there were a couple of surprises along the way, overall, I thought that the process went pretty smoothly.
Titan may or may not be doing business where you live, but if they do, I absolutely recommend them. My experience with them as an installer was excellent. They handled all the details (except for when I fell through the cracks regarding the brokerage account) and made the process painless and hassle-free.
As I’m writing this, I’m writing it for free! The computer I’m using and the lights that illuminate the office are all being powered by the sun, and I didn’t even get a power bill this month.
References and Resources:
- Top Four Benefits of Installing Solar Panels on Your Home, US Green Building Council.
- Solar Tax Credit By State in 2023: The Ultimate Federal Solar Energy Tax Credit Guide, Forbes.
- State Solar Renewable Energy Certificate Markets, United States Environmental Protection Agency.