In this post, we’ll explore how to make hand dipped tallow candles. It’s a simple DIY craft that helps you to use more and waste less.
Tallow is a very versatile product that can be made from the fat of many different animals. It differs from lard, in that lard refers specifically to rendered pig fat. There is also a consistency difference in that lard is creamy and must be refrigerated, while tallow is hard and can remain at room temperature without spoiling. However, both enjoy a large number of uses on the homestead. From cooking to soap making to healing salves, their versatility warrants strong consideration for saving every bit of fat you can scrape off an animal and provides enough benefit to make up for the smelly process of rendering the fat.
We’ll be looking specifically at using tallow to make hand dipped candles. These candles make a great emergency light source and, if things should become desperate, can even be used as a very emergency food source. These candles burn brightly and slowly, emitting no smells. That they are odorless can be hard to believe given how fragrant the rendering process can be. To begin with, we’ll go over the rendering process so you can make tallow candles entirely from scratch, using fat saved from animals you’ve hunted or raised for food.
Make Hand Dipped Tallow Candles
Rendering Tallow
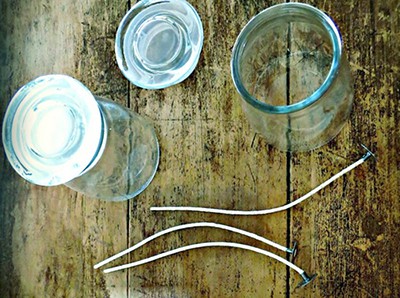
Materials Needed
Rendering fat into tallow is a simple process that takes more time that it does effort. While you can use any fat from any animal, tallow is most commonly made from beef fat, with the fat around the kidneys (known as “leaf fat”) considered the best. There are nutritional differences when it comes to fat from different animals, but no differences that make one type of animal fat better suited to candle making than another. The only exception with this is lard (rendered pig fat.) It has a considerable consistency difference that makes using lard to make hand dipped candles impossible, although it could be used effectively to make poured candles.
To begin, you may want to trim the fat to remove any muscle, as well as the cellophane like layer that is on leaf fat. It’s not necessary to get the fat completely clean as all impurities will be both cooked out and strained out in the end. Depending on the size of the container you’ll be melting the fat in, you may wish to cut the fat into smaller chunks to help it melt faster, though it’s not necessary. Some people like to cube the fat and then run it through a food processor, but that just means more things to clean in the end. Large chunks of fat in the same shape they were when you took them off the animal carcass will melt down just fine and produce no lesser quality of tallow than tallow that was meticulously cleaned, cubed, run through a food processor, and then melted.
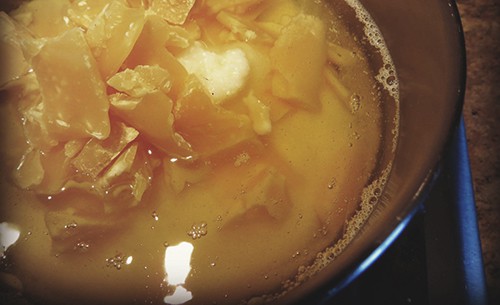
Place the fat into your container and gently heat the fat until it begins to melt. You can add water to prevent the fat from burning as the water will evaporate through this process. It will take a few hours for all of the fat to melt. Stirring the fat whenever you think about it is a good idea as it speeds up melting, prevents burning, and gives you an opportunity to scrape out some of the larger impurities that will float to the surface of the fat.
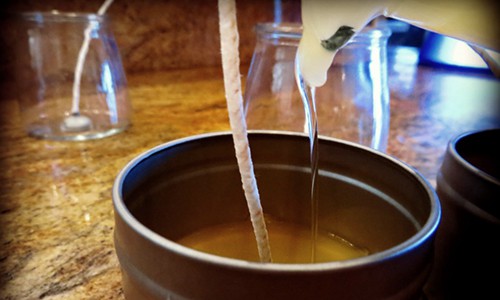
Once the fat is melted, strain it through several layers of cheesecloth. This is where the colander or funnel comes in handy. You can strain the melted fat into plastic leftovers containers, however, pouring it into wax paper lined baking sheets allows you to break it up into smaller squares. These smaller squares are easier to store, especially long term (place in a freezer bag and toss in your deep freezer.) They’re also easier to use for future projects or for cooking.
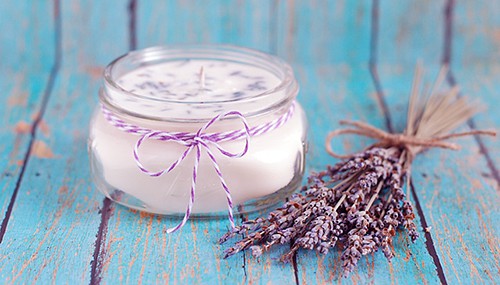
If you’re going to immediately use the tallow for making candles, pouring into an old coffee can is a good idea as it will save you time. Skip to the next section if this is the case. Otherwise, strain the tallow through the cheesecloth and into the wax lined baking pans. Allow the tallow to thoroughly cool and harden then flip it out of the pan and use a sharp knife to cut it into small squares for future use.
This tallow can be stored at room temperature or in your refrigerator. It can also be stored in a freezer for over a year with no negative effects.
Making Hand Dipped Candles
Materials Needed
NOTE: candle wick sizes vary depending upon the diameter of the candle you’ll be making. The sizes go by ½ inch increments, with a ½ inch wick suitable for a candle that will be ½ inch in diameter and a 1-inch wick suitable for candles that will be 1 inch in diameter, etc.
Melt the tallow by heating it gently in the coffee can. You can use a double boiler or place your coffee can (or similar pot) into a larger stock pot filled with water to create a double boiler. This helps to gently heat and melt the fat and prevents it from getting too hot and scorching in places. Otherwise, you’ll need to heat the fat slowly and stir it frequently.
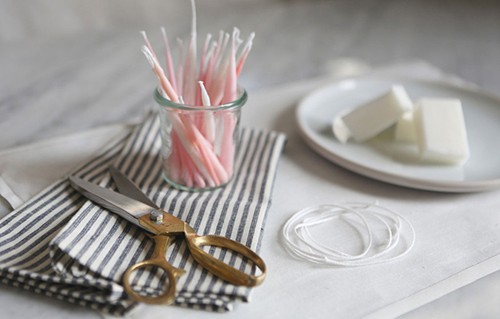
Once the tallow is melted, keep it on a high enough heat to keep it melted as tallow cools quickly. Now it’s time to dip your wicks. You’ll need wicks in lengths twice as long as the candles you want to make, plus a few inches. So, if you’re aiming for 10-inch-long candles, then the wick should be about 24 inches long, as you’ll be dipping two candles at a time and need the extra few inches to hang onto and for drying.
Hold the wick at the center, using both hands so that the wicks do not touch. There are tools that you can buy to keep the wicks separate, but they’re not necessary. Dip the wicks into the melted tallow. At first, the wicks will float. Take care that the two wicks do not touch and become stuck together. Pull them from the tallow and hold them aloft for a minute or two until they dry.
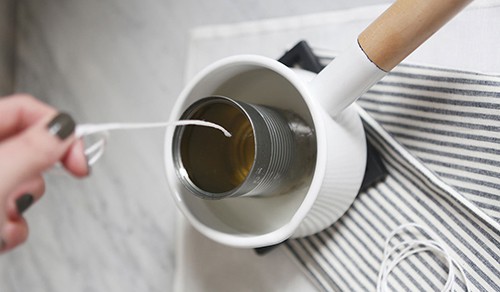
Now dip them back into the tallow, holding them in the tallow for a few seconds. Once you have a few good layer of tallow built up on the wick, you can speed up the dipping process by dipping the candles into the cold water bath after pulling it out of the melted tallow. However, this isn’t necessary; it just makes the process go faster.
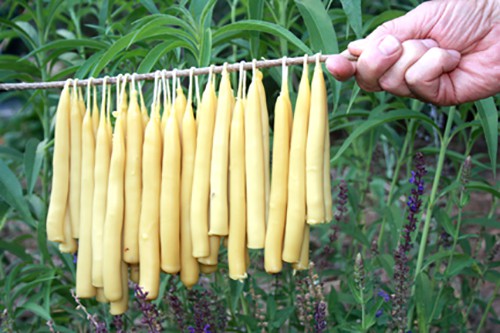
Should the candles become lumpy, you can gently roll them on a flat surface to smooth them out. Continue to dip them into the melted tallow until they are the desired thickness. Hang them to dry over a pasta drying rack or on a length of close line (using clothes pins to help keep the soft candles from touching.)
Allow the candles to cool and dry at least overnight before burning.
Ready to Make Hand Dipped Tallow Candles Now?
This same process for making hand dipped tallow candles can be used with paraffin wax as well. You can also add color chips to produce colored candles and essential oils and other scents to produce scented candles to the melted tallow. Of course, neither is necessary as tallow candles burn cleanly and have no smell.
But, best of all, they are a high-quality candle that has been made for generations and that you can make at home using items that could otherwise go to waste.